The Beginner’s Resin Art Toolkit
The Beginner’s Resin Art Toolkit: What You Really Need (And What’s a Waste of Money)
By Chana Rabkin – Expert Tips from Years of Trial & Error
If you're new to resin art, walking into a craft store—or even scrolling Amazon—can feel like stepping into a storm of choices. Resin? Casting? UV? Coaster molds? Jewelry kits? It all looks shiny and exciting until you check out with $200 worth of supplies... and realize you’re still missing the essentials.
I started My Flower Keepsake after falling in love with resin and began creating beautiful Marble and Agate panels. Then a friend of mine asked if I could preserve her wedding bouquet (her wedding was a month away) so typical me, I dove head first into learning how to preserve flowers and other meaningful items as a way to preserve meaningful moments. I’ve worked with everything from fresh wedding flowers to delicate locks of hair, to other meaningful items, suspended in crystal-clear epoxy. Along the way, I’ve made every beginner mistake in the book—and then some. So in this post, I’m sharing exactly what you need to start creating beautiful resin pieces—without wasting time or money.
Disclaimer: This post contains affiliate links. If you click and buy, I may make a small commission at no additional cost to you. :)
🧰 What You ACTUALLY Need in a Beginner Resin Toolkit
Let’s break this down into core categories: tools, safety gear, molds, and extras. I’ll also tell you which “trendy” items you can skip for now.
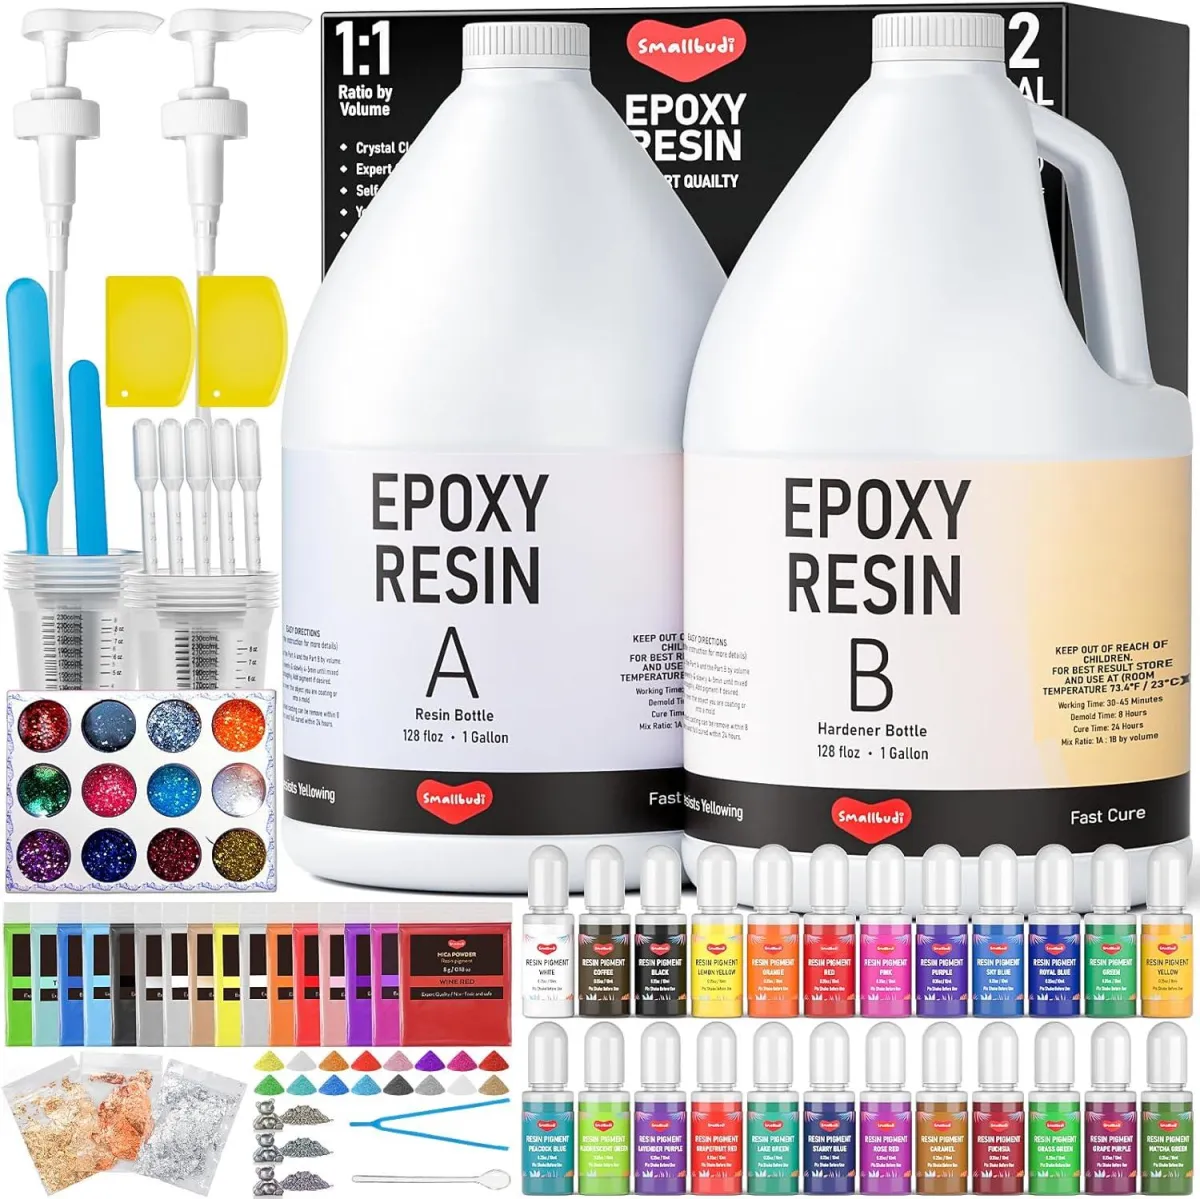
1. Resin – The Right Kind for Beginners
For starting out, you want epoxy resin, not UV or polyester resin. Epoxy is user-friendly, relatively safe, and cures at room temperature with a simple 1:1 ratio.
🔹 Recommended: Look for “casting resin” with low bubbles and high clarity. Some of my favorites are:
Superclear Table Top Resin (great for clarity)
Totalboat Table Top Resin (affordable and beginner-friendly)
Superclear Liquid Glass (fantastic for deep pours which we will cover in a later post)
👉 Pro Tip: There are cheaper resins out there, and I've probably tried out most of them, but my go to are these listed above.
2. Silicone Molds – Start Simple
When I first started resin, I got seduced by geode molds, alphabet letters, and 3D pyramid shapes. Don’t do that to yourself.
🔹 Start with: Coaster molds (round or square), jewelry bezel molds, or small tray molds. These are forgiving and teach you how resin behaves.
👉 Bonus: If you’re preserving dried flowers like I do at My Flower Keepsake, opt for molds with depth (at least 1 inch).
3. Measuring Tools – Accuracy Matters
Epoxy resin is not forgiving with guesswork. A small measuring mistake can lead to sticky, uncured pieces.
🔹 What you need:
Digital scale (most accurate - when measuring by weight, not volume)
Measuring cups with ml/oz markings - (10oz disposable for small projects. When measuring by ratio 1:1)
TCP Measuring cups with ml/oz markings - (32oz reusable for larger projects. When measuring by ratio 1:1 or 1:2 or 1:3 etc)
TCP Measuring cups with ml/oz markings - (174oz reusable for very large projects. When measuring by ratio 1:1 or 1:2 or 1:3 etc)
Plastic or silicone stir sticks - (Good for the small measuring cups)
12" stirring sticks - (Good for the 32oz or 64oz measuring cups)
17" stirring sticks - (Good for the 174oz measuring cups)
👉 What I use now: For measuring by ratio, it is crucial to measure each part accurately to ensure your pieces cure properly. I measure by weight with a digital scale for products that go by weight for absolute consistency.
4. Mixing Tools – Get Clean, Consistent Blends
Its better when possible to use reusable silicone or plastic sticks and measuring cups. Wooden sticks can create more bubbles.
🔹 Essentials:
Silicone mixing cups (For small projects. Reusable and easy to clean)
Plastic drop cloth or Silicone mats to protect your table
👉 Tip: Keep all tools dust-free and designate a “resin-only” zone.
5. Bubble Busters – Torch or Not?
When I first started, I bought a big tank of butane gas to burst the bubbles on my pieces, I can tell you I burnt more than my share of resin.Then I tried hairdryers and blowing through straws. Spoiler: That didn’t work. So here is my hard earned advice for taking care of the bubbles...
🔹 Options:
Mini butane torch – the most effective for surface bubbles
Heat gun – gentler, safer for molds, but takes longer
👉 Tip: If you’re working with flowers, use the heat gun to avoid scorching delicate petals.
6. Safety Gear – Non-Negotiable
Epoxy resin can emit fumes, especially in enclosed spaces. Your health comes first.
🔹 Must-haves:
👉 Personal Note: I now use a full-face respirator with organic vapor filters for all deep-pour projects. Don’t risk your lungs—invest here early.
7. Workspace Setup – Keep It Simple (and Safe)
Clear a corner of a well-ventilated room and designate it as your resin area. Cover your table with a silicone mat or disposable plastic sheet.
🔹 Essentials:
Level surface (resin finds every slope)
Dust cover (When I began this venture I used to use parchment paper or aluminum foil, but sometimes they would fall into the piece and ruin it. Then I discovered these...:)
Trash bin nearby
🚫 What You DON’T Need as a Beginner (Yet)
Here's a list of commonly over-purchased items you can skip:
❌ UV resin kit – It’s great for jewelry, but requires a UV lamp and cures only in very thin layers. Stick with epoxy.
❌ Alphabet molds or large pyramid molds – Hard to work with and cure evenly. Focus on simple molds first.
❌ Expensive pigments – Start with mica powders and a few alcohol inks. You don’t need 50 shades of pearl just yet.
❌ Dremel tool – Sanding and finishing tools can come later, once you have pieces to refine.
💡 Pro Tips from My Flower Keepsake
As someone who now works with real wedding bouquets, baby keepsakes, and custom pieces and more, here are 3 takeaways I wish I had from Day 1:
Practice Before You Preserve
Never use meaningful items in your first few pours. Test with throw away items, no one cares about. As for flowers, use supermarket blooms until you're ready for the BIG league.Keep Notes
Write down your measurements, temperature, and curing time. These logs saved me from repeating failed batches!Start Small
Master the coaster. Learn the curing curve. Then go bigger. Trust me—it’s more rewarding that way.
📌 Final Resin Toolkit Checklist (Copy & Save!)
✅ Epoxy Resin (casting type)
✅ Silicone Molds (coaster, jewelry)
✅ Digital Scale
✅ Silicone Cups + Stirrers
✅ Heat Gun or Torch
✅ Nitrile Gloves
✅ Respirator Mask
✅ Safety goggles
✅ Silicone Mat / Drop Cloth
✅ Level Table & Dust Cover
✅ Isopropyl Alcohol (cleaning)
🎯 Closing Thoughts
Starting resin art can feel overwhelming, but when you start with the right tools, you’re setting yourself up for success—and enjoyment. You don’t need the fanciest setup, just the right setup. From my own journey at My Flower Keepsake, I’ve learned that simplicity + consistency = stunning results.
Stay tuned for tomorrow’s post: How to Choose the Right Resin for Your First Project Without Getting Overwhelmed—where I’ll walk you through which resin is best for your first pour and what to avoid like the plague.
Got questions? Drop them in the comments or DM me on Instagram @myflowerkeepsake_. I love helping new artists fall in love with this magical medium! 💛
*
Here’s a **short bio** for your **Resin Art 101 blog page**, reflecting your experience and drawing from your My Flower Keepsake journey:
---
🌸 I’m Chana, a self-taught resin artist & keepsake maker with years of trial, error & discovery under my belt. I turned my passion into *My Flower Keepsake* — where I preserve life’s most meaningful moments in resin. Through Resin Art 101, I share practical tips, beginner-friendly guidance, and the lessons I wish I knew when I started. Whether you're pouring your first mold or dreaming of selling your art, you're in the right place. 🎨✨](https://storage.googleapis.com/msgsndr/DZXaqlJLOJn0oYspzne6/media/66fac7cb233878c3551bdf82.png)