Mistakes I made, so you don't have to!
Top 5 Resin Mistakes I Made
So You Don’t Have To
Top 5 Resin Mistakes I Made So You Don’t Have To
Starting with resin is exciting, but I quickly learned how easy it is to mess up.
These mistakes cost me time, money, and some beautiful flowers along the way.
Here are the top 5 errors I made—and how you can skip the frustration.
Mistake #1: Not Measuring Accurately
Resin is not forgiving when it comes to ratios.
Early on, I mistakenly measured the resin by weight rather than by volume, and all my beautiful marble panels did not cure. I just couldn't understand why not, until I realized my mistake...and had to throw them all out..
I also guessed measurements or “eyeballed” small batches.
The result? Cloudy finishes, soft spots, and pieces that never cured.
Measuring resin and hardener precisely is the foundation of every project. Some are by volume, such as
1:1 or 1:2, meaning one part of B to two parts of A, or vice versa. (Generally the B component is the hardener) For such measurements, you need to use measuring cups with clearly marked lines. Whereas other resins are equal parts by weight, so a scale is necessary for these.
A slight imbalance throws off the chemical reaction.
Too much hardener can cause brittleness, while too little leaves the resin sticky forever.
When mixed wrong or not long enough, it doesn’t harden evenly, leaving tacky areas or cracks.
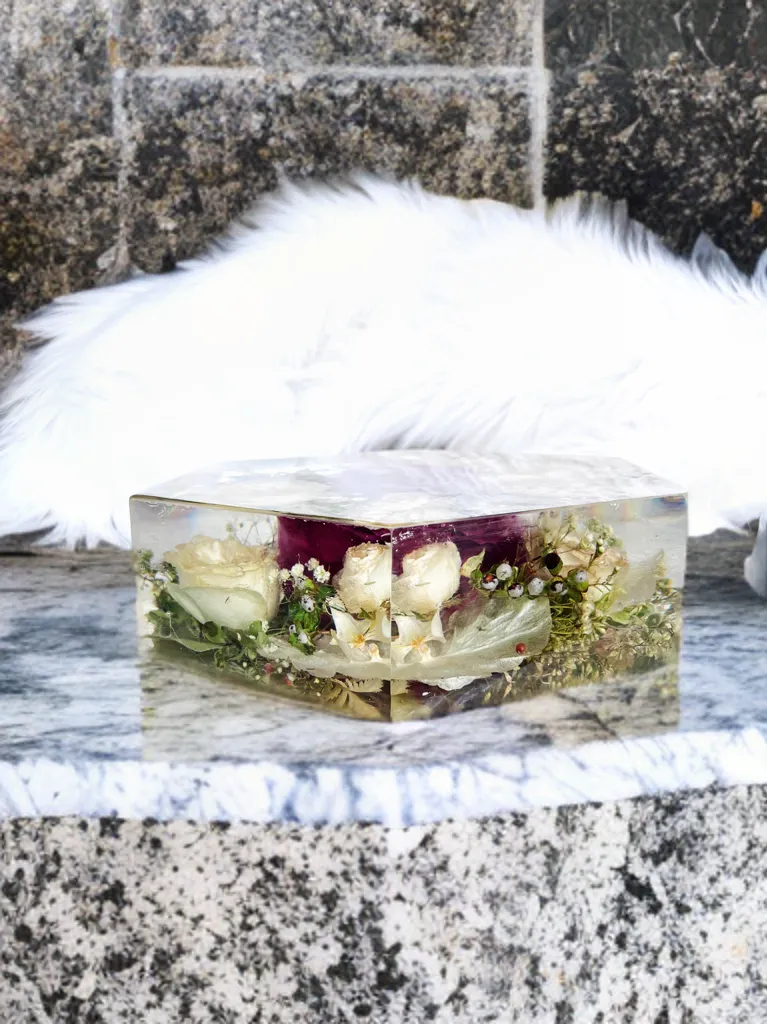
I once lost an entire wedding flower block because I was off by a few milliliters.
Simple Fix for Perfect Measurements
Always use a digital scale or marked mixing cups. Pour slowly to avoid overshooting the line.
Scrape the sides of the cup and stir thoroughly for 3–5 minutes, ensuring the resin and hardener blend fully.
Mistake #2: Skipping Safety Precautions
When I started, I underestimated resin fumes. I thought opening a window was enough.
Weeks later, I had headaches and skin irritation.
Resin contains chemicals that can cause respiratory issues and allergies if you don’t handle it safely.
Once I switched to proper gear and ventilation, the difference was immediate.
Health Risks I Didn’t Realize
Resin vapors can irritate your lungs, and uncured resin can burn skin. I learned the hard way when I handled resin without gloves and ended up with itchy, red hands for days.
Easy Safety Habits to Start Now
Work in a well-ventilated space.
Wear nitrile gloves, a respirator mask, and long sleeves.
Keep kids and pets out of the area until the resin is cured.
Mistake #3: Pouring Too Thick at Once
I thought pouring one big layer would save time.
Instead, the resin started smoking and bubbling like a volcano, I thought it was going to erupt! I got bubbles trapped deep inside and an overheated mess. Needless to say, the flowers and mold were completely ruined and again thrown out.
Resin generates heat as it cures. Thick pours hold too much heat, leading trapped bubbles, cracks or cloudy spots. In other words, a ruined piece.
Why Thick Pours Fail
When both components of "table top" resin (A & B) are mixed it creates heat and when it cures too fast (which happens when it is in a cup or poured too deep), it can boil inside as it hardens, creating bubbles you can’t fix, and ruining your mold and inserts.
Layering Resin for Better Results
For thick pieces you should use a "deep pour" resin which doesn't create as much heat, cures slower, and poured in layers, about ¼ inch to ½ inch at a time, avoid overheating and allowing the bubbles to rise the surface. Let each layer almost completely cure before adding the next. It is preferable to pour the next layer when the previous one is slightly tacky. You’ll get a crystal-clear finish without risking cracks or bubbles.
Mistake #4: Ignoring Temperature & Humidity
Resin is sensitive to its environment.
In my first summer of resin art, I worked in a humid garage.
The result? Milky surfaces and sticky finishes that never cured right.
How Environment Affects Resin
Low temperatures slow the cure, while high humidity introduces moisture.
Moisture creates a cloudy, “blushed” finish and weakens the bond.
Controlling Your Workspace
Keep your room between 70–75°F (21–24°C) with low humidity. Use a dehumidifier if needed.
Warm your resin bottles in hot water before mixing to reduce bubbles.
Mistake #5: Rushing the Curing Process
I couldn’t wait to de-mold my first pieces.
Every time, I ended up with fingerprints, dents, or bent edges.
Resin needs time to fully cure, not just harden on the surface.
Patience is part of the craft.
The Cost of Impatience
Removing resin too soon ruins the shape.
Even if it feels solid, the inside may still be soft, leading to permanent marks or warping.
How to Let Resin Cure Properly
Follow the manufacturer’s cure time.
Most resins need 24–72 hours to fully harden.
Cover your pieces to protect from dust while they set.
💡 Save this guide for your next pour!
✨ Learn resin the easy way—skip my mistakes!
...and as always, enjoy the process!
Until next time!
Chana xoxo
*
Here’s a **short bio** for your **Resin Art 101 blog page**, reflecting your experience and drawing from your My Flower Keepsake journey:
---
🌸 I’m Chana, a self-taught resin artist & keepsake maker with years of trial, error & discovery under my belt. I turned my passion into *My Flower Keepsake* — where I preserve life’s most meaningful moments in resin. Through Resin Art 101, I share practical tips, beginner-friendly guidance, and the lessons I wish I knew when I started. Whether you're pouring your first mold or dreaming of selling your art, you're in the right place. 🎨✨](https://storage.googleapis.com/msgsndr/DZXaqlJLOJn0oYspzne6/media/66fac7cb233878c3551bdf82.png)